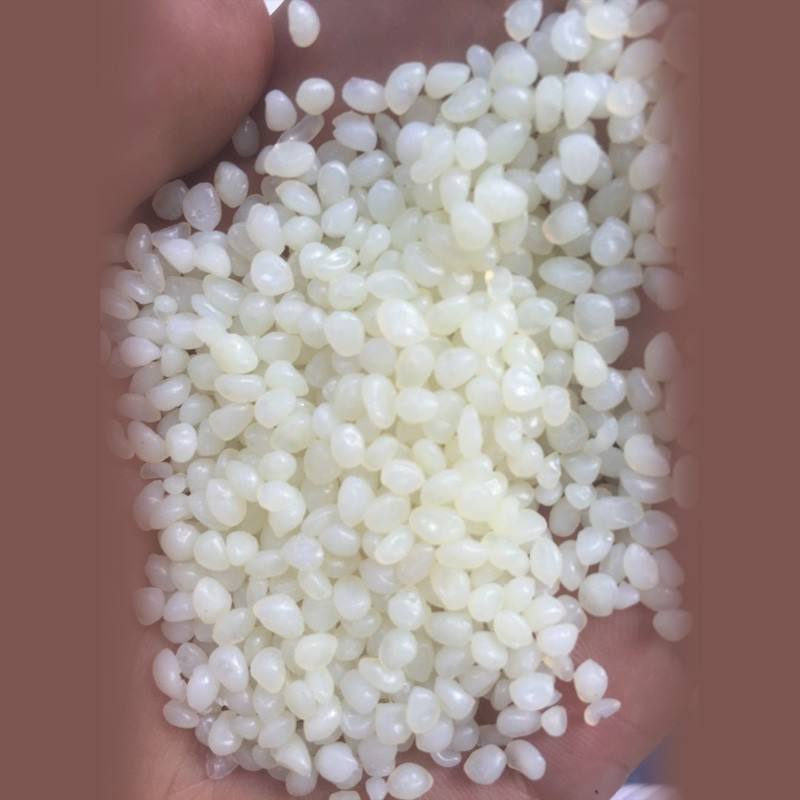
How to ensure the integrity of the quality of the original engineering plastics
Plastic and composite materials can show a wide range of mechanical properties. Changes between most components will be unavoidable in the production process, so some errors will be formed, resulting in manufacturing shortcomings. These manufacturing defects can be attributed to various factors, such as fluctuating heat treatment temperature, molding defects, or inconsistent quality of plastic data. However, how to ensure the quality of raw plastics or the integrity of plastics requires a specific set of comments and plastic inspection methods. It is applicable to make or evaluate the accuracy of a plastic product data, which can be determined through the inspection of the chemical and physical properties of the original plastic resin or fiber. Raw plastics usually form vitality after a series of tests and screening. The quality inspection after production usually depends on various testing methods. Raw material inspection the quality inspection of most plastic raw materials involves two aspects: resin or fiber formation. Resins, the primary targets include viscosity, moisture content, and color, while continuous fibers often check their tensile strength. Infrared and nuclear magnetic resonance spectroscopy are commonly used to identify basic chemical structures and contamination levels. Other standard methods include chemical analysis that reveals the primary acid or epoxy group in a plastic compound, and liquid or gel chromatography to determine the average molecular weight and molecular weight dispersed in the resin molecules. The detection accuracy of chromatographic skills is particularly high, because the molecular weight and its dispersion will affect the viscosity and mechanical properties of plastic data. In polyesters, low molecular weight generally yields higher levels of viscosity, resulting in a slower thickening rate. This can make the plastic more difficult to handle or extremely long to thicken to an appropriate extent. The level of moisture also affects the thickening rate. Ultrasonic testing ultrasonic testing selects high-frequency sound waves to track internal defects in a plastic material.

Electric transducers generate sound waves that are then applied to plastics, such as water, through a separate medium. Seismic waves pass through the data and their energy levels, transforming according to the shortcomings they encounter. The receiving transducer converts the sound wave into an electric signal reflected on the screen. The result is then able to work with predetermined design features and identify any internal weaknesses. Radiographic examination photography consists of emitting a radiation beam through a plastic component, then recording and measuring its power when exiting through the other side. The difference between the initial strength and the strength of the beam after the information helps to determine the defects inside the object. The standard method uses X-rays and then records images on photographic film, while γ Rays are more useful for thicker data because they provide a higher degree of penetration. The defects in plastic appear in the color or spots of film images. Photography is commonly used to detect the following shortcomings, such as ultrasonic skills, and acoustic emission detection methods use sound waves to determine the shortcomings of data. However, instead of sending sound waves for reflection, acoustics relies on the emission of elastic stress released by sound from the micro damage zone. In the reinforced plastic composite material, a small degree of stress will lead to the emission at the damaged part, making the AE detection the defect orientation of the molded product within the map.
Source: Jiangmen engineering plastics http://www.wywantong.com/
-
04-13
PVC Engineering Plastics: how PVC plastic pipes are formed
The forming process of PVC plastic pipes should start from the raw materials of PVC plastic granules, which can be divided into soft PVC and hard PVC according to the added amount of stabilizer, plast
-
11-12
What is the filling property of Jiangmen engineering plastics
What is the filling property of Jiangmen engineering plasticsIn recent years, PC modified plastics have developed rapidly in China, and its industrial system is gradually established and improved. Th
-
10-08
Jiangmen Engineering Plastics: how to classify Jiangmen engineering plastics?
How to classify Jiangmen engineering plastics? 1. Classification by application characteristicsAccording to the different application characteristics of famous plastics, plastics are usually divided
-
08-30
Application scope of PBT engineering plastics
PBT engineering plastics are widely used in electronics, car industry, office machinery and other fields. In Japan and the developed countries in Europe, PBT engineering plastics are mainly used in t